
Forensics: Crime Scene Detective — Tutorial 1: Cold Storage
Step-by-step walkthrough for Tutorial 1 Cold Storage in Forensics: Crime Scene Detective covering digital evidence collection and chip analysis.
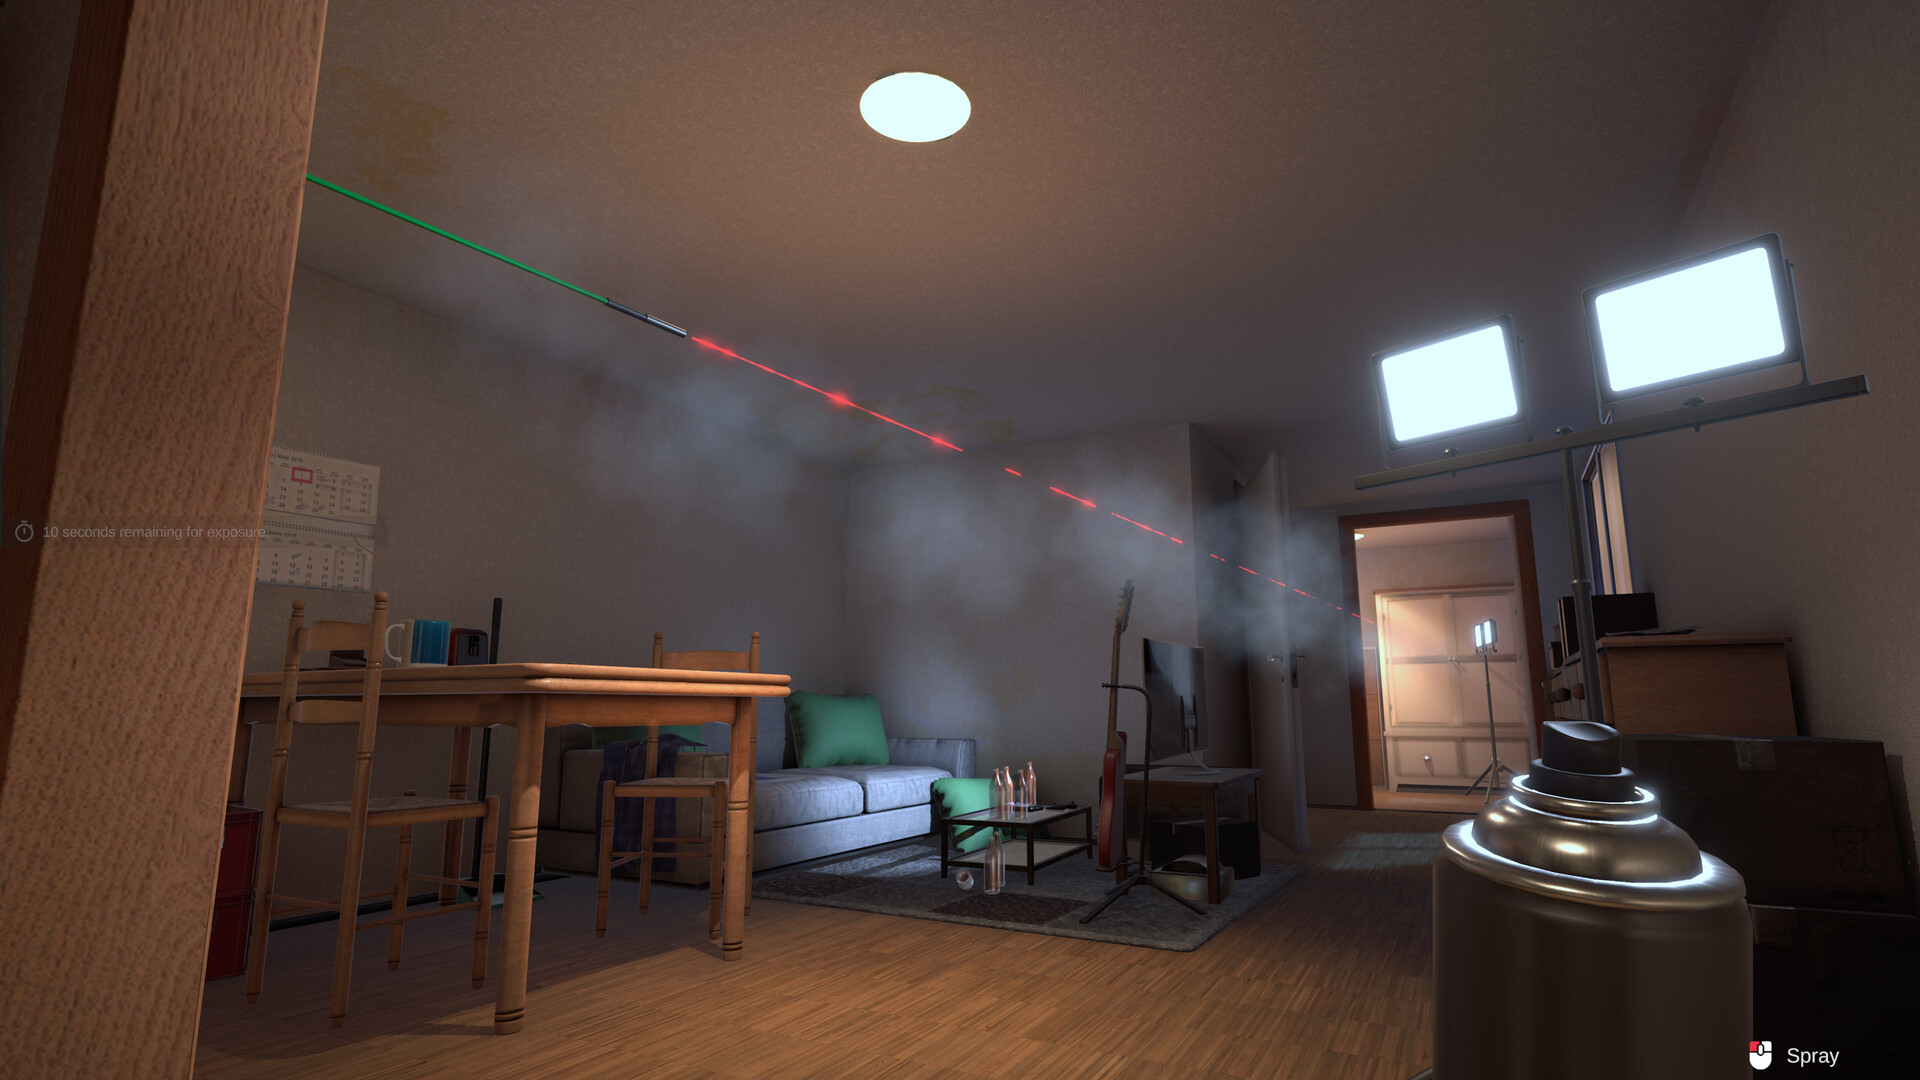
Tutorial 1: Cold Storage introduces digital forensics — the foundation for many later cases. You investigate a drug dealer's flat and must locate, photograph, collect, and analyze digital devices. This walkthrough covers every step from the LKA laboratory to the final lab analysis.
Case Briefing
Jane Doe reports that a drug dealer has been caught at his flat. Any digital devices may have been used to communicate with clients and must be collected for forensic analysis. Your objectives: locate all devices, photograph them in situ, collect them properly, and analyze them in the laboratory.
Crime Scene Steps
- Travel to the crime scene by pressing E when prompted at the filing cabinet.
- Open the case file (Tab) and review witness statements.
- Pick up evidence markers from the tool case.
- Search the flat for smartphones, computers, and storage media.
- Place a marker next to each digital device before touching it.
- Photograph each marked device — the marker must be visible in the photo.
- Inspect each device for condition status (functional, encrypted, damaged).
- Collect devices and place them in appropriate evidence containers.
Forensics: Crime Scene Detective demo — digital evidence tutorial

Laboratory Analysis
Back at the LKA lab, interact with the digital forensics workstation. For functional devices, short-press E to select, optionally enter a password found at the scene, then long-press E to start analysis. For damaged devices, use the chip extraction bench: heat the chip evenly, vacuum it off the board, and transfer to the analysis system.
Decryption Workflow
- Select a functional device at the decryption module.
- If encrypted, search the crime scene for password clues (notes, sticky pads, trash).
- Short-press E to select device, long-press E to begin decryption.
- Export results to a folder and pick up the report.
- Read the report for call logs, messaging history, and deleted data.
Chip Extraction
- Place damaged device on the desoldering station.
- Long-press E to start heating.
- Heat evenly around the chip perimeter — overheating destroys data permanently.
- Vacuum the chip once it releases.
- Transfer extracted chip to the analysis reader.
Completing the Tutorial
Submit analyzed evidence via the lab email system. Attach evidence files and send to colleagues for evaluation. Once all devices are processed and reports reviewed, close the case from the filing cabinet. Aim for zero undiscovered leads by checking every room including storage areas.
Frequently Asked Questions
What if I cannot decrypt a device?
Search the entire crime scene for handwritten passwords, sticky notes, and trash bin contents. Passwords are never random — they are always found somewhere in the environment.
Can I destroy evidence during chip extraction?
Yes. Overheating the chip during desoldering permanently destroys data. Heat slowly and evenly around the entire chip perimeter.
How many devices are in this tutorial?
The training flat contains multiple devices including smartphones and computers. Photograph and collect every electronic item you find.
Related Pages
All Cases
Complete list of 14 cases in the full game.
Tutorial: Another Robbery
Systematic evidence gathering and lab submission.
Tutorial: Breaking and Entering
Fingerprint fuming, DNA samples, and suspect identification.
Tutorial: Shooting Mishap
Ballistics, trajectory reconstruction, and bullet analysis.
Case 1: Locked Office Murder
Full solution for the first real investigation case.
Case 2: Parking Lot Shooting
Outdoor ballistics investigation with blood spatter and shell casings.