
Forensics: Crime Scene Detective — Case 1: Locked Office Murder
Complete Case 1 Locked Office Murder walkthrough with evidence locations, lab analysis steps, and staged crime scene solution.
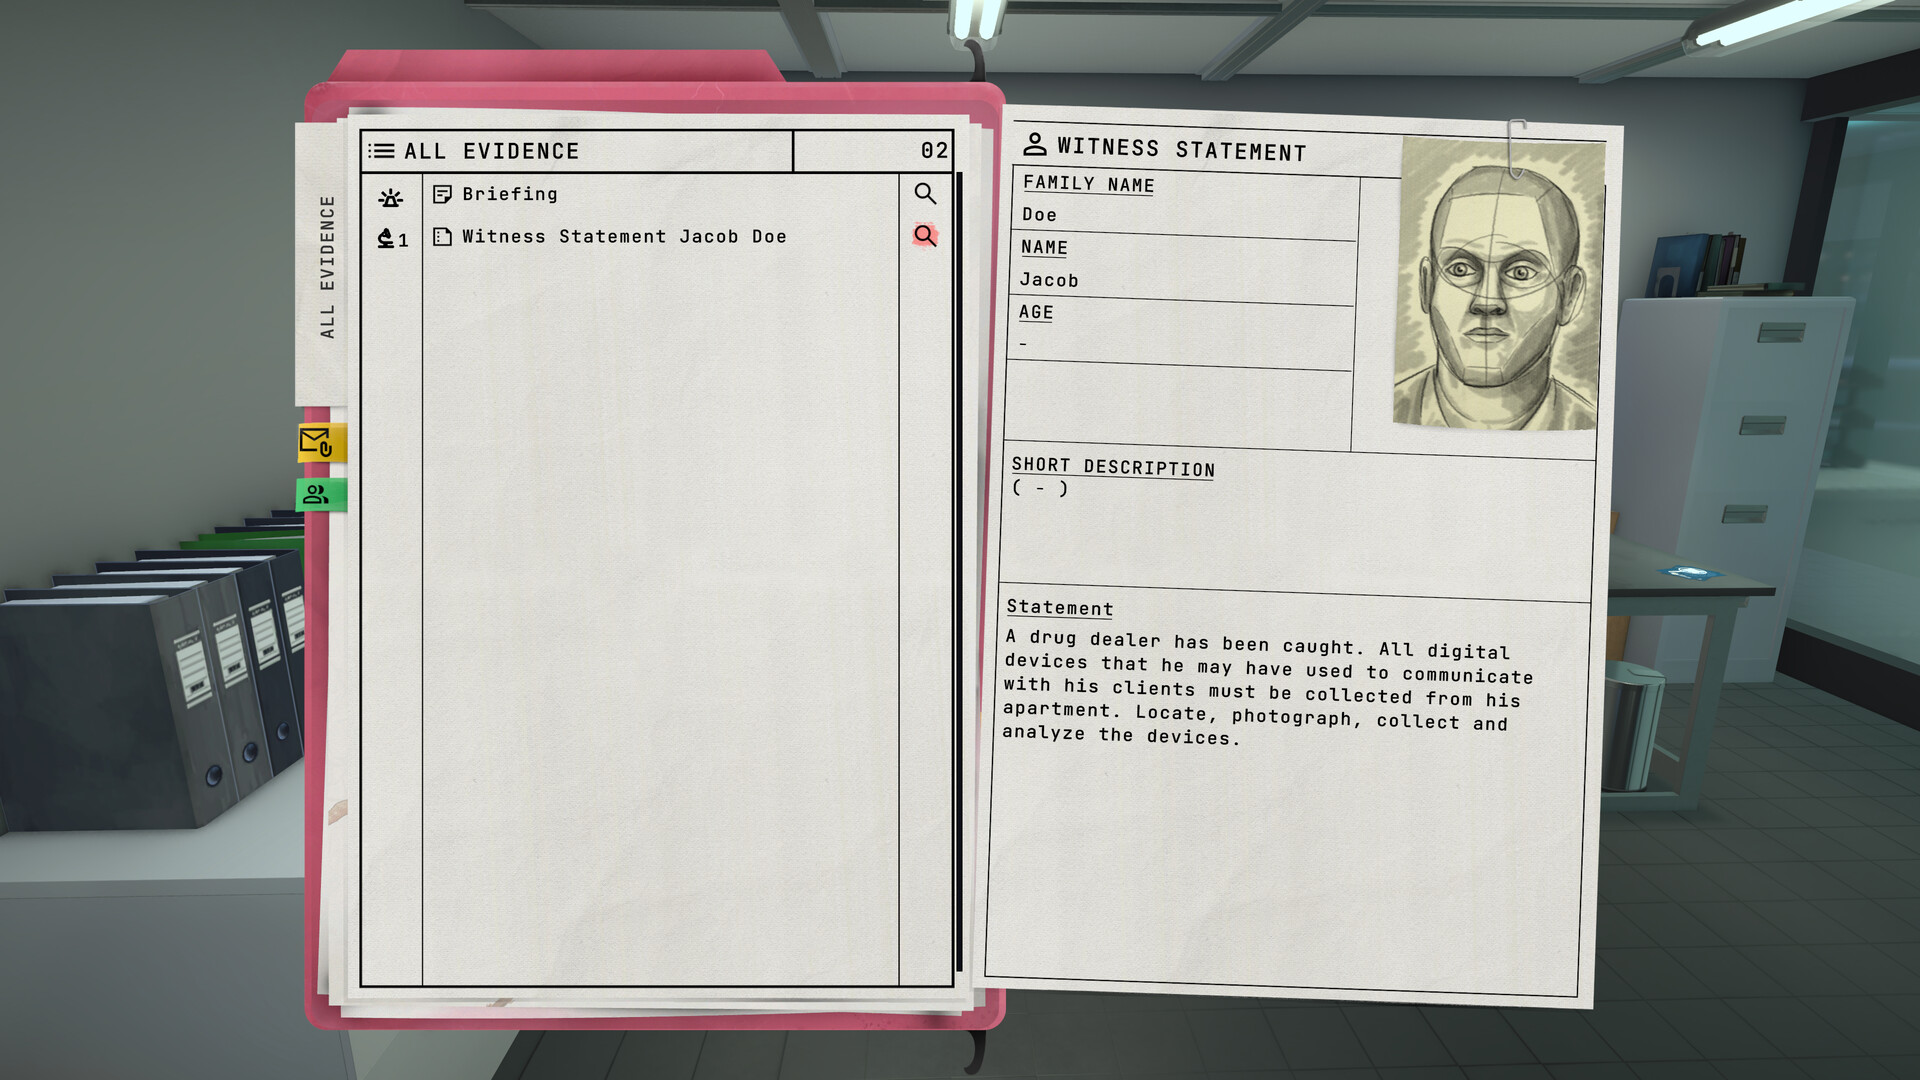
Case 1: The Locked Office Murder is the first full investigation in Forensics: Crime Scene Detective. A victim is found dead inside a locked office, and police initially suspect robbery. The evidence tells a different story involving poisoned drinks, a marble paperweight, a damaged smartwatch, and a deliberately staged locked room.
Initial Assessment
At first glance, the scene appears straightforward: a dead victim in a locked room. Do not accept the obvious theory. Move slowly through the office and examine every object methodically. The coffee mug, marble paperweight, office window, and victim's smartwatch are all critical pieces of evidence.
Crime Scene Evidence
The Coffee Mug
The coffee mug on the desk is especially important. Photograph it with an evidence marker, then dust the handle for fingerprints before packaging. Laboratory analysis links prints on the mug to the Graduate Assistant, placing them near a poisoned drink.
The Marble Paperweight
Nearby you will find a blood-covered marble paperweight. This becomes the primary murder weapon once DNA testing confirms the victim's blood. Secondary analysis reveals skin cells belonging to another individual, connecting a suspect to the weapon.
The Office Window
The window initially looks suspicious but its fingerprints ultimately lead nowhere. This is a deliberate misdirection — not every piece of evidence matters equally. Document it properly but do not let it distract from stronger leads.
The Damaged Smartwatch
Collect the victim's damaged smartwatch. It seems unimportant at first, but digital recovery provides the most damaging evidence: health monitoring data shows the victim died significantly later than the Graduate Assistant's statement claims, breaking their alibi.
Developer interview — Case 1 investigation techniques and lab workflow

Forensics: Crime Scene Detective investigation gameplay

Laboratory Analysis Priority
- DNA test the paperweight — confirm victim blood, then run secondary skin cell analysis.
- Fingerprint comparison on the coffee mug — match to Graduate Assistant.
- Digital recovery on smartwatch — extract health timeline data.
- Submit all findings via email for colleague evaluation.
The Locked Room Secret
The locked office seems impossible — nobody could have entered or escaped. Inspect the locking mechanism itself. Small scratches around the deadbolt reveal someone manipulated the lock from outside after leaving the room. The locked door was staged to suggest suicide or robbery, not to prevent entry.
Building the Case Board
| Evidence | Significance |
|---|---|
| Fingerprint on mug | Places suspect near poisoned drink |
| DNA on paperweight | Connects suspect to murder weapon |
| Smartwatch timeline | Breaks suspect's alibi |
| Damaged lock | Proves staged crime scene |
Connect all four evidence nodes on the case board before submitting your final report. The investigation succeeds because dozens of smaller observations support one conclusion — not because of a single dramatic clue.
Frequently Asked Questions
Who is the perpetrator in Case 1?
Evidence points to the Graduate Assistant. Fingerprint, DNA, smartwatch timeline, and lock tampering all converge on this suspect. Build your case board with all four connections before accusing.
Why does the window matter if fingerprints lead nowhere?
It is a deliberate red herring teaching you that not all evidence is equally relevant. Document it properly but prioritize the mug, paperweight, smartwatch, and lock.
What rating should I aim for?
S rating requires finding every clue with zero undiscovered leads. Use our Evidence Checklist tool and Case Rating guide for perfectionist runs.
Related Pages
All Cases
Complete list of 14 cases in the full game.
Tutorial: Cold Storage
Digital evidence collection and chip analysis training.
Tutorial: Another Robbery
Systematic evidence gathering and lab submission.
Tutorial: Breaking and Entering
Fingerprint fuming, DNA samples, and suspect identification.
Tutorial: Shooting Mishap
Ballistics, trajectory reconstruction, and bullet analysis.
Case 2: Parking Lot Shooting
Outdoor ballistics investigation with blood spatter and shell casings.